First try gentle cleaning if the paint is intact. For an actual chip or filled hole, repair the surface, prime where required, and apply a small amount of the matching product with the original type of brush or roller. Let it dry before judging. If a properly prepared repair still differs in color or sheen, repaint that wall to its corners instead of enlarging the patch repeatedly.
In this answer
Decide whether the mark needs paint
A furniture scuff can sit on top of an intact coating. Start with a soft cloth lightly dampened with water. If the coating's care directions permit mild soap, use it sparingly, remove the residue with a clean damp cloth, and let the area dry. Stop if color transfers or the finish changes. An abrasive pad can leave a different-looking patch even after the original mark disappears.
If the scuff is gone and the dry finish looks consistent, the job is finished. Paint is necessary when the coating is missing or the surface needs a repair, not simply because something touched the wall. For scraping or sanding in pre-1978 housing, resolve the lead-paint issue first; EPA recommends a lead-safe certified contractor. The small-repair steps below assume that paint disturbance is appropriate.
Match the product and the texture
Compare the full paint label: brand, product line, color and tint information, base, and sheen. A color name mixed into a different product does not establish a match. If you have the original paint, stir it thoroughly so settled color is incorporated. If it is no longer usable or you lack the label, a retailer can help identify a replacement, but test that candidate before touching every mark.
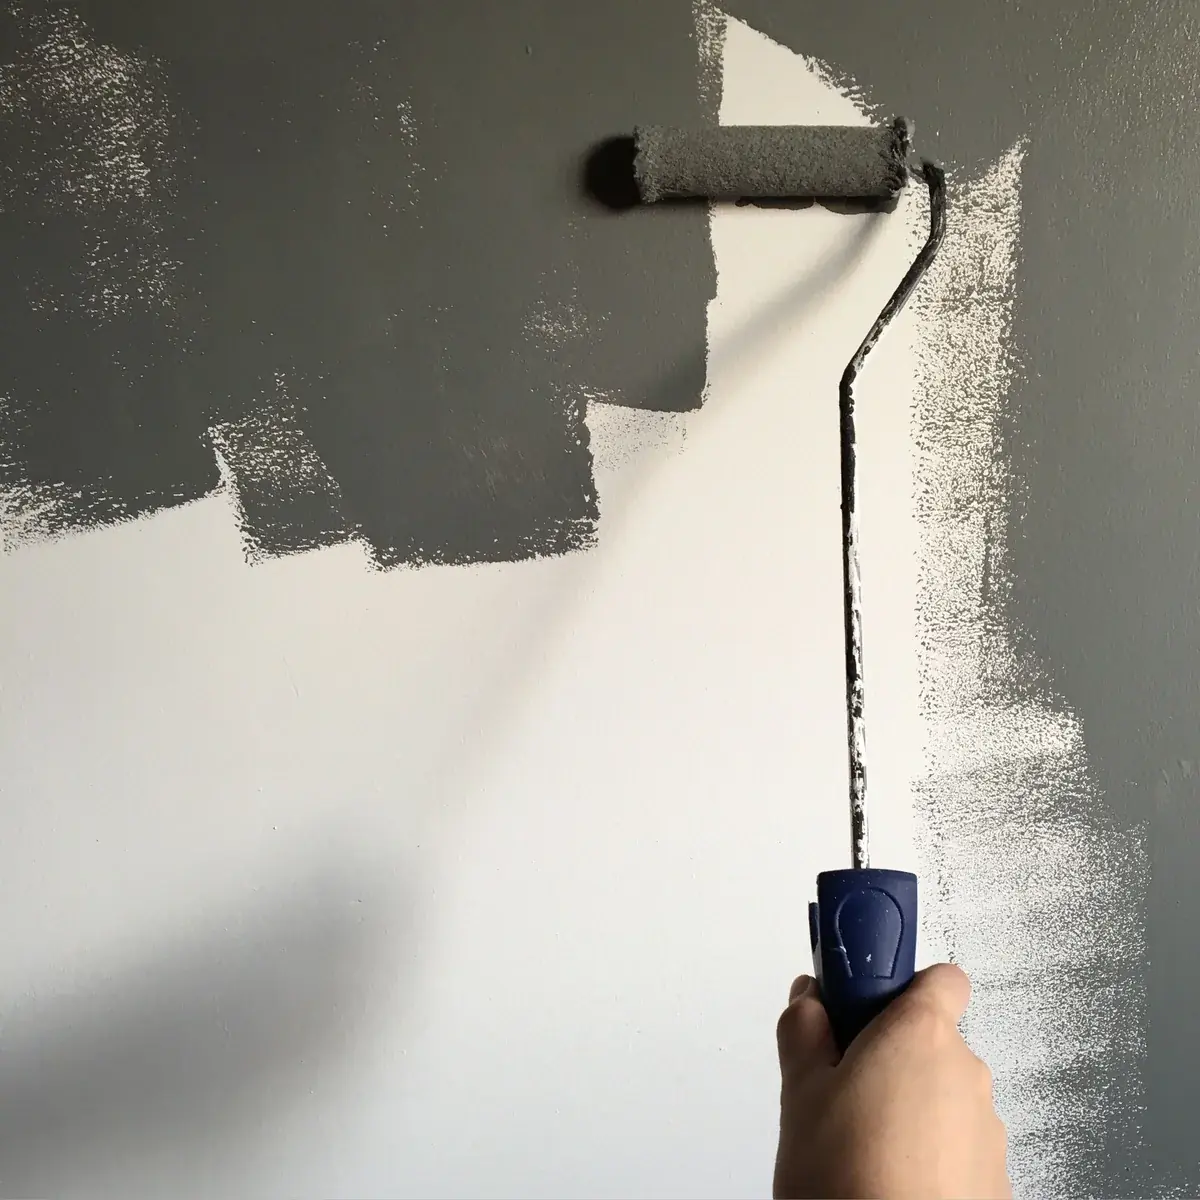
Use a roller on a rolled wall and a brush where the original finish was brushed. Match the roller-cover texture as closely as practical. A miniature roller is useful for control, but its cover still needs to reproduce the surrounding pattern. Benjamin Moore identifies color, sheen, and texture as separate parts of a touch-up; BEHR notes that old, faded, and higher-sheen surfaces can be difficult to blend.
Make a shallow repair level before painting
For a small dent or nail hole in sound drywall, clear loose debris without enlarging the defect. Use an interior filler suitable for the material and hole size. Press it into the depression with a putty knife, then draw the blade across the surface to remove excess. A mound of filler will still cast a shadow through paint.
Let the filler reach its stated sanding or painting stage. Lightly smooth any raised edge with the recommended fine abrasive and remove the dust. Check with light coming across the wall: the repair should meet the surrounding surface without a lip. A deep hole, torn drywall paper, a moving crack, or a textured finish requires a different repair method; do not keep packing an unsuitable filler into it.
Prime exposed or porous repair material when the filler-and-paint system requires it, then let the primer dry. Sherwin-Williams links uneven sheen to differences in porosity and coating thickness. That is why adding more finish paint to a visibly raised or unprepared patch often changes its color without concealing the repair.
Apply a small touch-up and leave it alone
Work on one existing defect first. Let each application dry for the coating's stated interval before deciding whether it needs more coverage.
Do not repeatedly brush a patch as it begins to dry, or add water unless the specific coating directions allow it. If coverage is complete but the patch looks wrong, use the table below before adding another coat.
- Put a small amount of thoroughly mixed paint into a tray and load the matching brush or roller lightly.
- Cover the defect from its center toward the edge, keeping the application direction consistent with the surrounding finish.
- Use less paint at the perimeter so the repair ends without a heavy outline. Leave it to dry.
- If the dried coat does not cover, apply the next permitted coat after the required interval. Judge its color and sheen only when dry.
Scroll across to read every column.
| Result | Next action |
|---|---|
| Color differs from most viewing angles | Recheck product and tint information. Stop using that candidate across the room. |
| Color is close but the patch flashes at an angle | Check sheen, repaired-area primer and application texture. Correct the identifiable difference before another trial. |
| You can see a raised edge or hollow | Return to surface preparation; additional paint will not level it. |
| Repair blends under the room's ordinary daylight and evening lighting | Stop. Keep the paint identification for later. |
| Correct product and preparation still leave a distracting patch | Recoat the complete wall to its natural boundaries. |
Know when one whole wall is the smaller job
There is no useful rule that a certain percentage of damage requires repainting. A tiny repair under strong side light can be more noticeable than several larger marks behind furniture. Inspect from normal standing and sitting positions in daylight and with the lights you actually use, rather than judging only from inches away.
If the mismatch remains after an appropriate trial, use the corners, ceiling line, baseboard, and door trim as the repaint boundary. Clean and prepare the full wall, complete any repairs, and use the specified coat count. A single wall can be a more predictable project than a succession of overlapping patches. Adjacent aged walls may still differ; evaluate their appearance before expanding to the entire room.
If you repaint one wall, calculate that wall only
For illustration, a 12-foot-wide, 8-foot-high wall has one 3-by-7-foot doorway. Assume the selected paint covers 350 square feet per gallon per coat and the job needs two coats. Replace both assumptions with the purchased product’s directions.
The estimate below is about 0.47 gallon, or 1.89 US quarts, including a chosen 10% allowance. Two quarts nominally cover it if that product and tint are sold in quarts; compare their combined price with one gallon. Texture, absorption or a larger color change can change the requirement. Primer is a separate quantity.
Scroll across to read every column.
| Calculation | Result |
|---|---|
| Wall minus doorway: (12 × 8) − (3 × 7) | 75 sq ft |
| Two coats: 75 × 2 | 150 sq ft of coat coverage |
| Paint: 150 ÷ 350 | 0.429 US gallon |
| With 10% allowance: (150 ÷ 350) × 1.10 | 0.471 US gallon ≈ 1.89 US quarts |
Sources & scope
The notes below identify what each reference supports. Worked examples are original illustrations; product instructions and local conditions determine which steps apply in your home.
- Benjamin Moore: How to touch up paint ↗
Color, sheen, texture, application method, and repaired-surface preparation.
- BEHR: Touch-up versus repaint ↗
Touch-up limitations on aged and higher-sheen surfaces.
- Sherwin-Williams: Paint flashing ↗
Porosity, film thickness, and priming as factors in uneven sheen.
- BEHR: How to paint with a roller ↗
Mixing settled color and roller application guidance.
- Sherwin-Williams: Prepare walls for painting ↗
Cleaning, rinsing, drying and preparation before coating.
- DAP: Spackling 101 ↗
Small-hole repair, putty knife application, drying and smoothing.
- EPA: Lead-safe renovations for DIYers ↗
Lead precautions before disturbing paint in pre-1978 homes.